Lab Report 3 - Week 6
Continuous Integration & More Unix
Heyo! This is the third lab report for CSE 15L. This time around, we are now using the application of continuous integration with the addition of making our remote server access even more convenient.
Continous integration is the application to the consistent upload of some sort of program/software and then goes through an automated test to check whether or not the overall program/software will be good for release.
For the most part of this lab report, I am going to be focusing on accessing GitHub and our remote server more conveniently. Just think of it like you are in the carpool lane with no traffic compared to other normal lanes.
Streamlining ssh Configuration
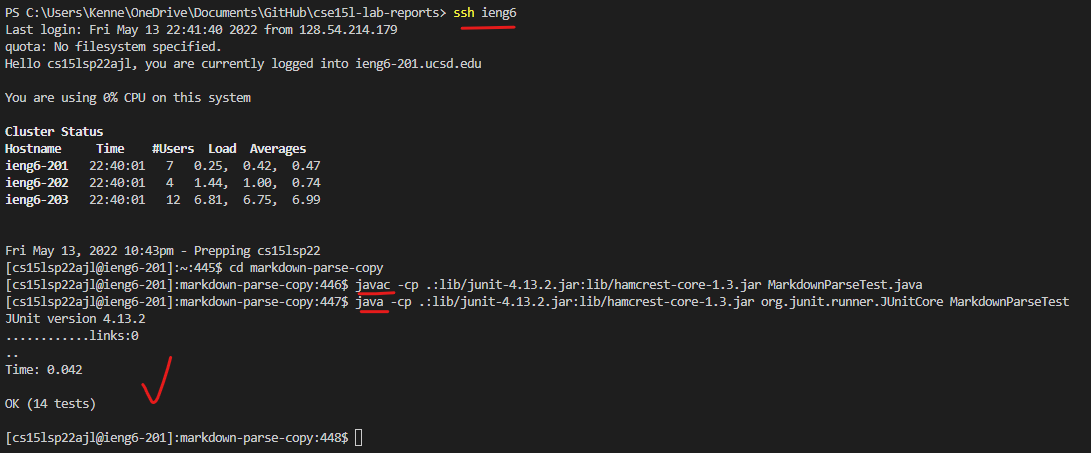
Usually, when we log into the remote server (ieng6), we type something along the lines of :
ssh cs15lsp22###@ieng6.ucsd.edu
- After this, since we already have an SSH key, we will automatically log in
But the only thing that may be a hassle would be to remember your account (which even I don’t have it down), so it would be preferable to have some sort of shortcut instead of copy & pasting your account from somewhere.
The Solution
The easiest way to make this easier on ourselves is to make a key term that replaces our account. So, here’s how:
- Locate where you created your
ssh-keyson your computer:~/.ssh/config- Should be within the
.sshfolder
- Should be within the
- Make a config file that tells
sshwhat username & nickname to use to log in to specific servers in~/.ssh/config.

- Make sure that the config file has no extensions, where it it is only a File (ex. not a text file).
-
Open the config file through any text editing program (in my case, VSCode), and copy & paste this into it…then save!
Host ieng6 HostName ieng6.ucsd.edu User cs15lsp22###- For your user, it’s just the front info before the @.
Now that we have the config file inside our .ssh folder, we can test if it worked or not through our terminal…and success!
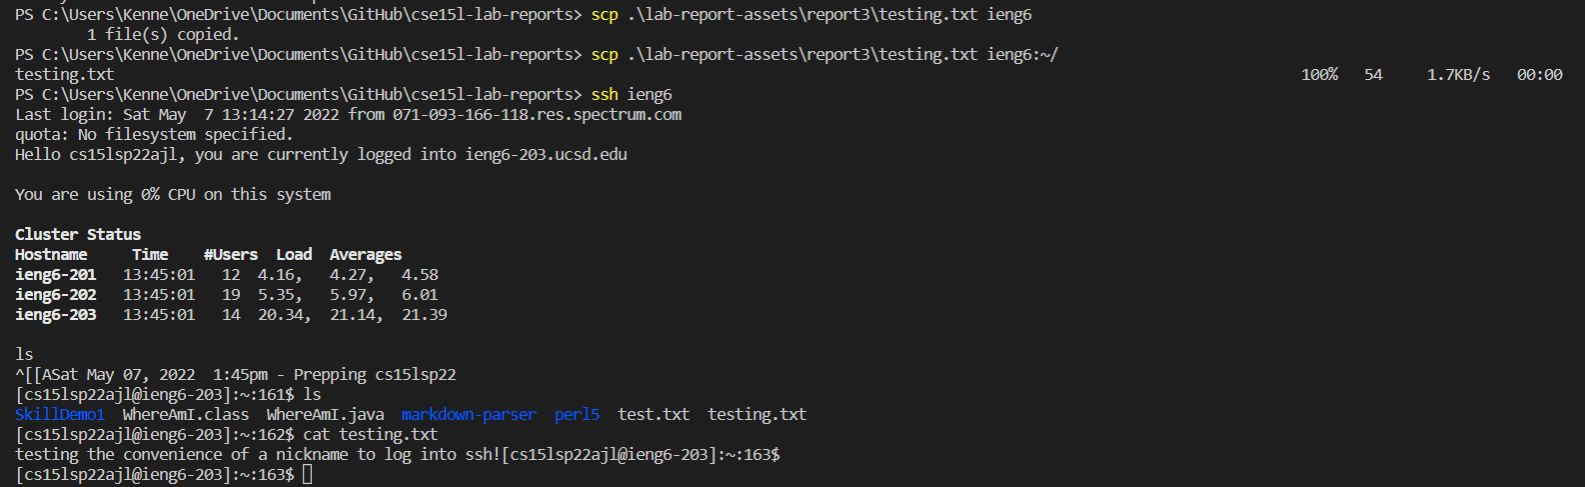
Testing it further, let’s try to use scp using our shortcut:
-
We can copy any file, so in this case, I made a file called
testing.txt -
Make sure you know where your file is located and then:
scp testing.txt ieng6:~- In my case, I had to find the directory of where my text file was (ex. /randomfolder/testing.txt)
GitHub Access via ieng6
Normally when we are in ieng6, we can clone, pull, and git status for our particular GitHub repository. Though we didn’t see much commit nor push through the command line.
Apprently, when you try to commit or push, you’ll likely run into this error:
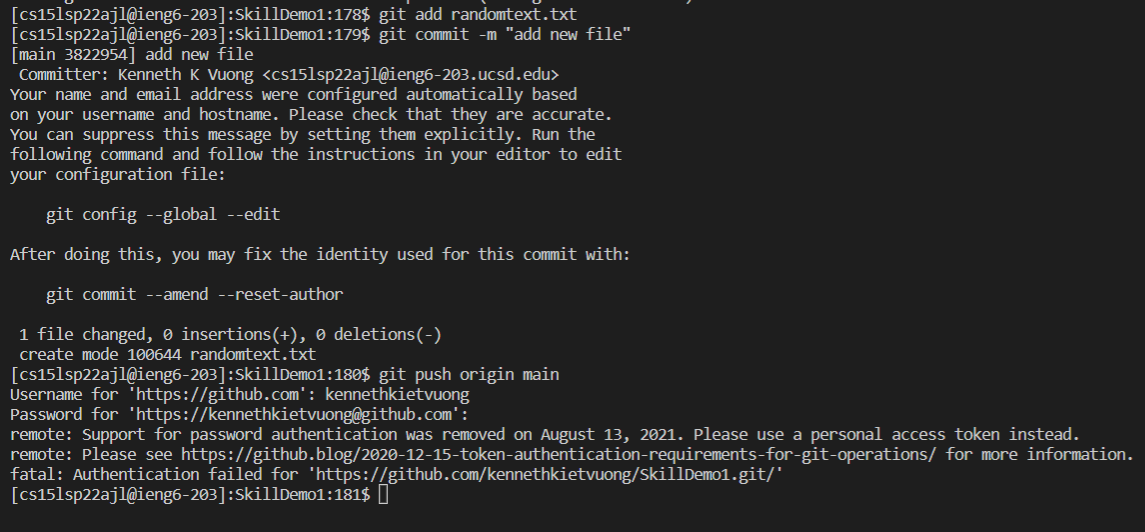
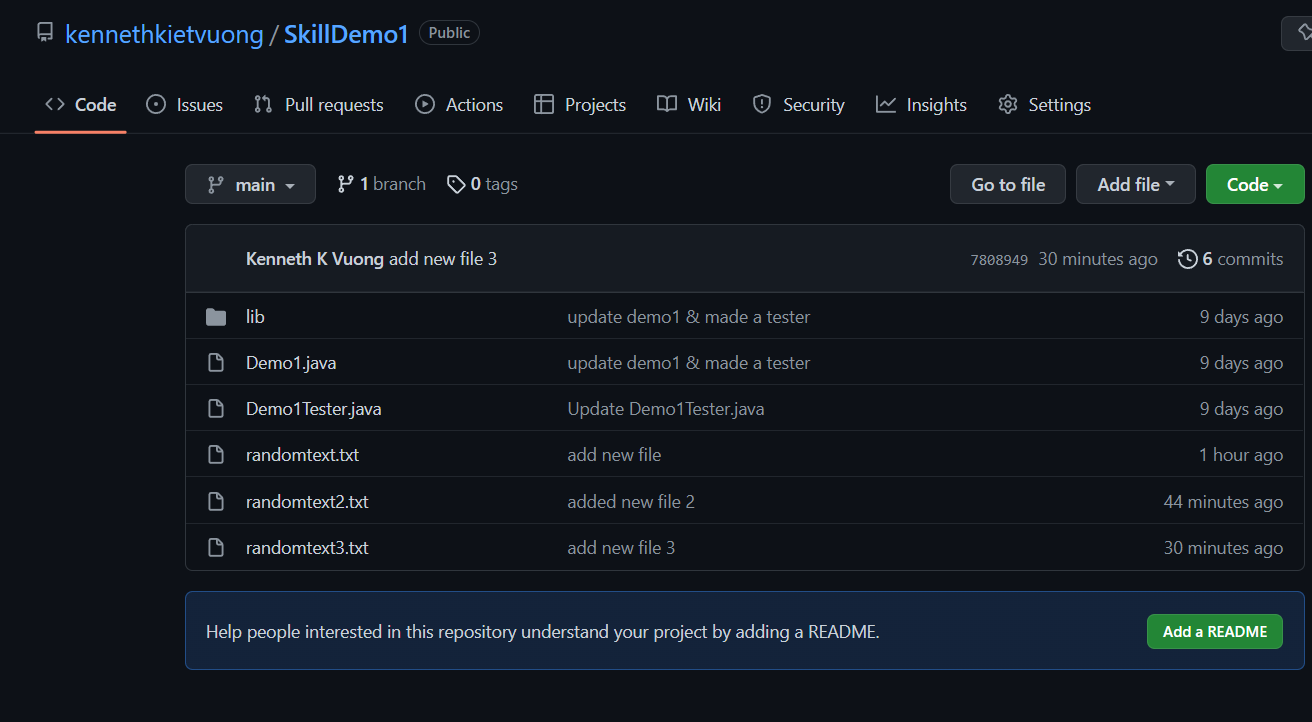
- In my case, I tried to add a new file into my repository called
SkillDemo1and commit that throughieng6. - The error is that you cannot use a password and that you need to use some sort of token (similar to
ssh-keys).
The Solution
To be honest, this took so much effort to figure out how to allow pushing and all of that of GitHub from ieng6. But here’s how I did it:
- Make a key for GitHub through
key-gencommand & place it into your.sshfolder
- In my case, I named it
id_rsa_github.
- In my case, I named it
- Copy the content within your GitHub public key
- You can use the terminal to copy it in, or open any text editor to open the file:
id_rsa_github.pub
- You can use the terminal to copy it in, or open any text editor to open the file:
- Go back to GitHub, go to settings, then under the
SSh and GPG keys, add your copy and paste your key there.
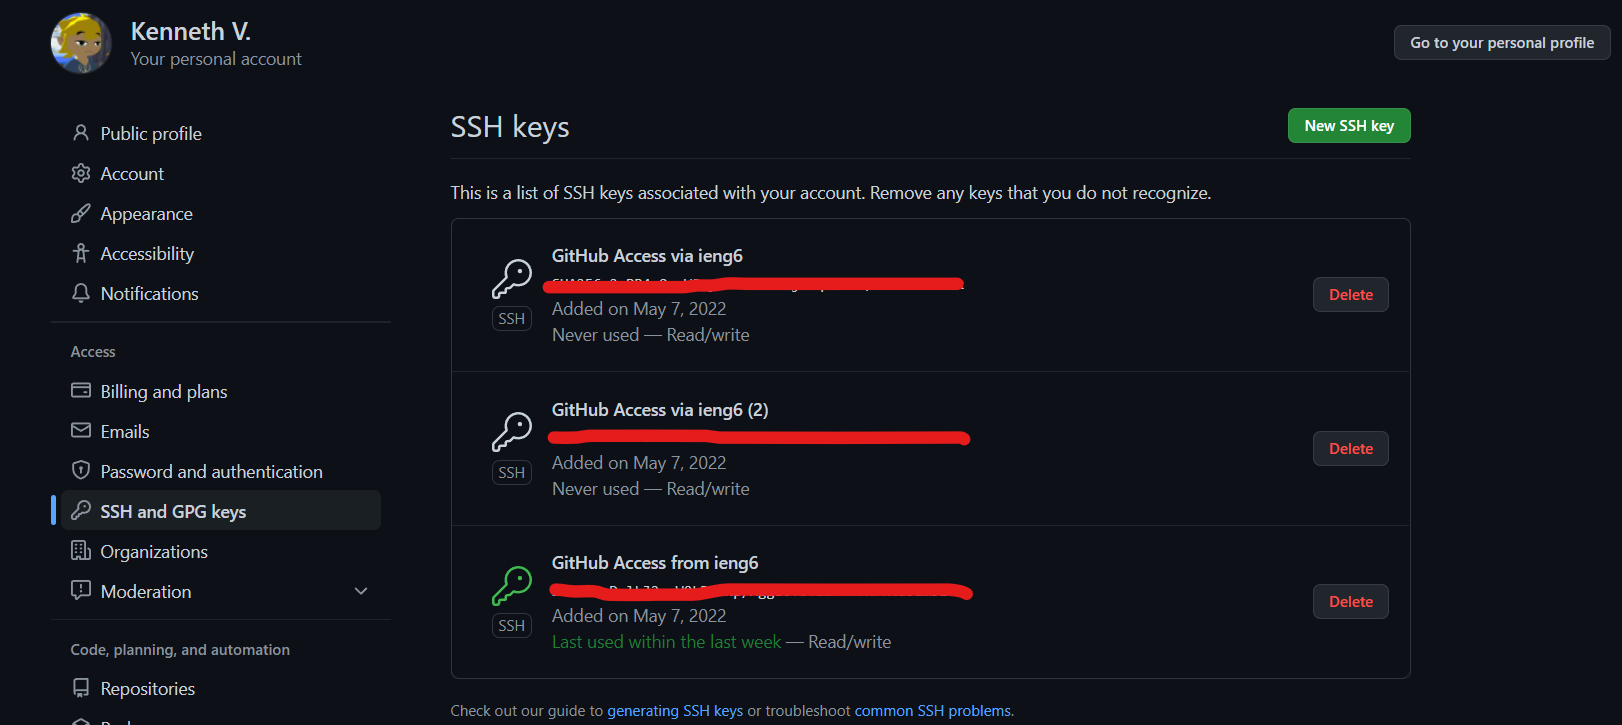
- There should be at least a key like above (I have multiple keys as I had trouble getting it to work except for the last key that is green)
- Additionally, I added this these lines into my
.ssh configfile:Host github.com HostName github.com User <insertusernamehere> IdentityFile ~/.ssh/id_rsa_github- NOTE: Your username is your github username.
Now that we technically have a key setup for GitHub Access, it is time to attempt to push commits from ieng6. Here are some things to recognize or to troubleshoot on:
- If you cloned your repository via
HTTPS, you’re going to need to use this command to make it work forSSH:git remote set-url origin git@github.com:<\github_username>/<\repository_name>.git
- When you try to push your commits back to GitHub, if you don’t do this (and that you cloned HTTPS), it’s still going to ask for your username & password…which is not what we want.
- In a sense, it is like you do not have a connection to Github and the remote server
- Solution Post
-
Double check that your public/private key pairs match in GitHub
-
If all goes to fail, generate a
personal access tokenthat you can copy and paste as your password (your username remains the same though).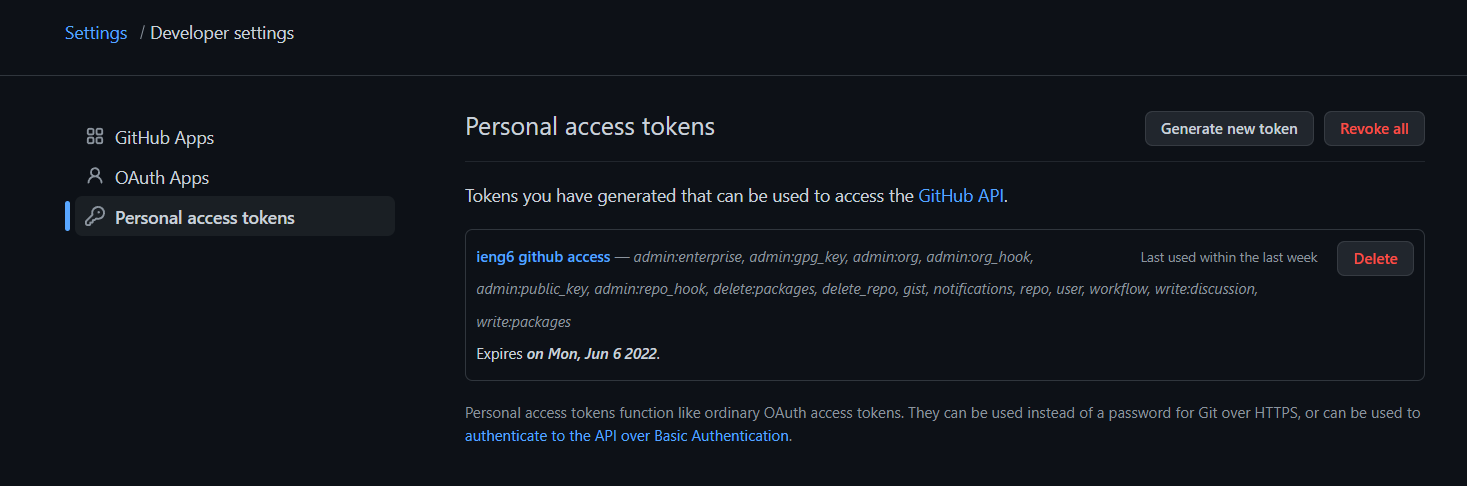
Besides that, you should be able to push your changes now!
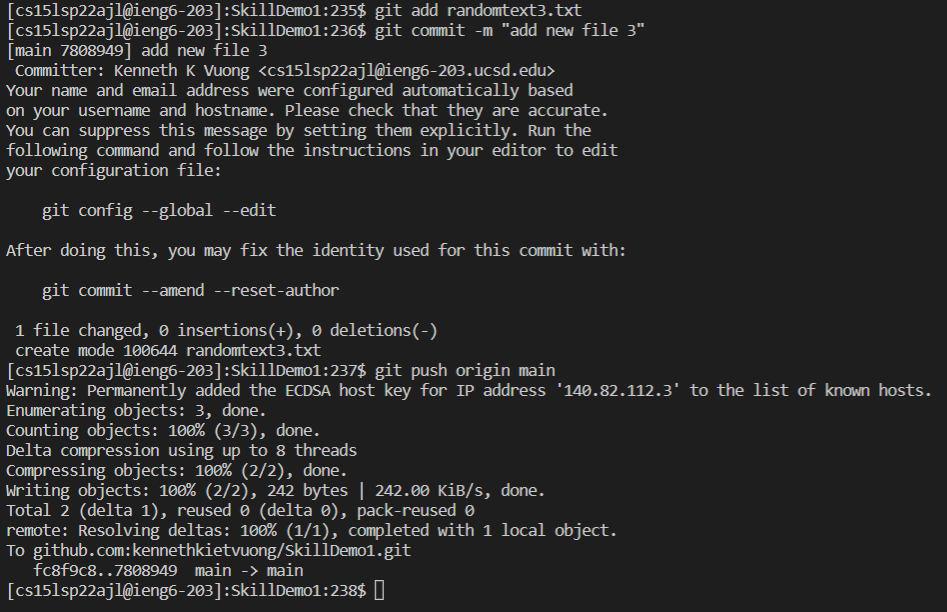
- Link to commit here.
Copy Whole Directories w/ scp -r
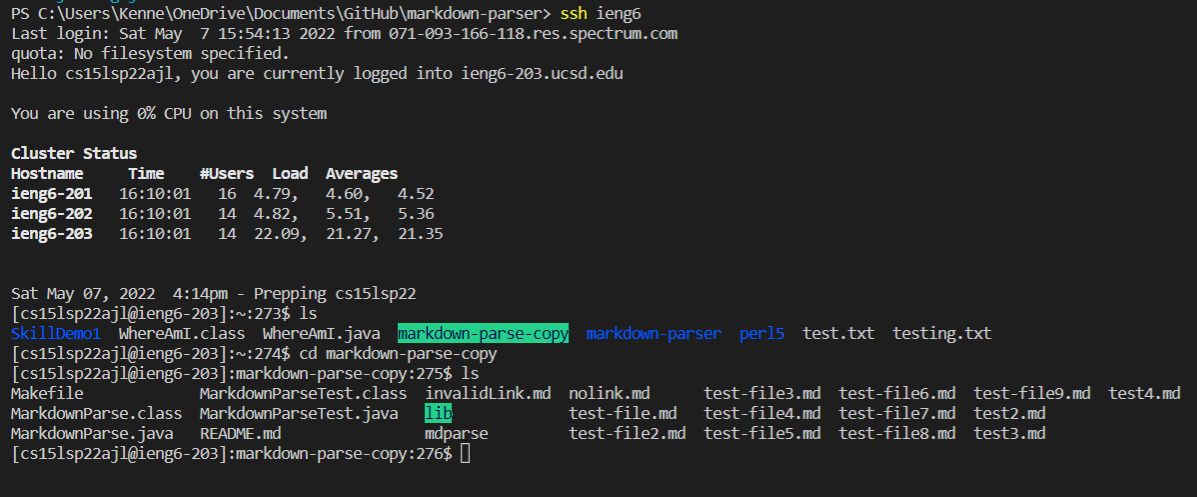
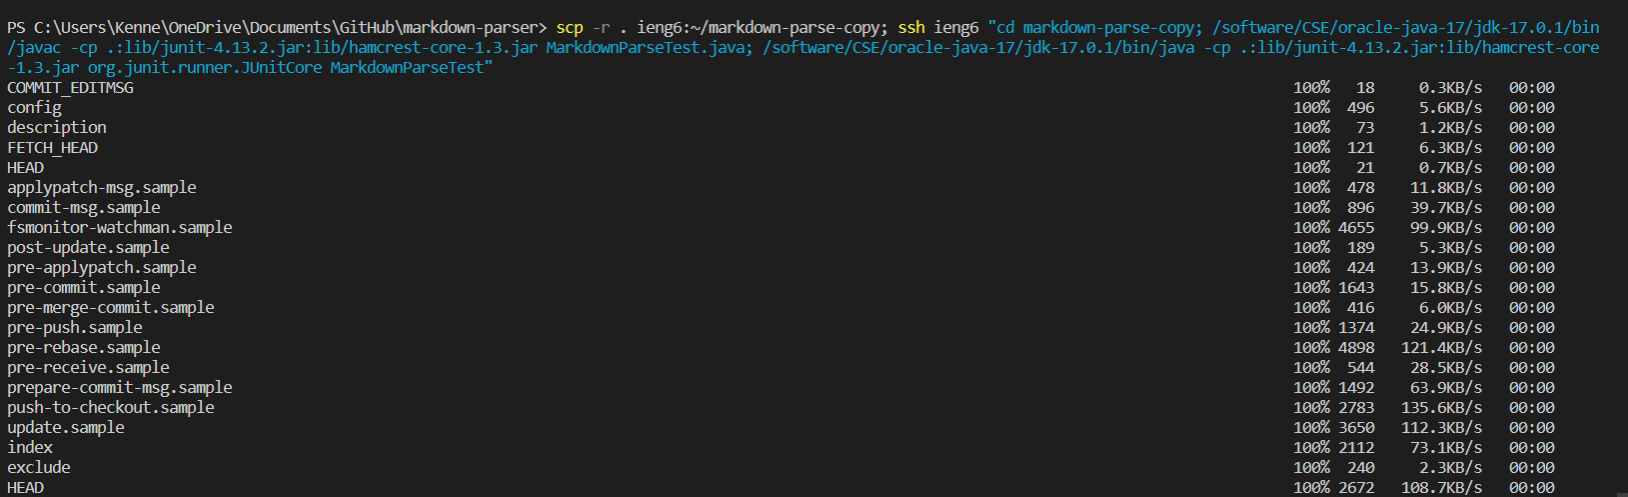
We often deal with directories filled with a ton of files. It could be that we have folders within folders or even more. So, we’re going to be using a single line to copy an entire directory and run it through ieng6.
In my case, I’m going to be making an entire copy of my MarkdownParse directory. This entire command is multiple commands in a single line:
scp -r . ieng6:~/markdown-parse-copy; ssh ieng6 "cd markdown-parse-copy; /software/CSE/oracle-java-17/jdk-17.0.1/bin/javac -cp .:lib/junit-4.13.2.jar:lib/hamcrest-core-1.3.jar MarkdownParseTest.java; /software/CSE/oracle-java-17/jdk-17.0.1/bin/java -cp .:lib/junit-4.13.2.jar:lib/hamcrest-core-1.3.jar org.junit.runner.JUnitCore MarkdownParseTest"
Before doing it in a single line, we need to recognize what we are doing step by step:
- Using
scpto copy entire directory toieng6serverscp -r . ieng6:~/markdown-parse-copy- The
markdown-parse-copyat the end of the this command can be any file name. - This also combines our streamline ssh short key
ieng6 - Make sure in your command line directory, that you are INSIDE THE DIRECTORY YOU WANT TO COPY
- ex.
...\GitHub\markdown-parser> scp -r . ieng6...
- ex.

- The
- Log into
ieng6& going into the copied directoryssh ieng6 "cd markdown-parse-copy;...- Everything in quotes will be now continued in the
ieng6operating system (which I believe is linux) - The
...refers to the following commands below
- Everything in quotes will be now continued in the
- Compiling the tester
.../software/CSE/oracle-java-17/jdk-17.0.1/bin/javac -cp .:lib/junit-4.13.2.jar:lib/hamcrest-core-1.3.jar MarkdownParseTest.java;... - Running the tester
.../software/CSE/oracle-java-17/jdk-17.0.1/bin/java -cp .:lib/junit-4.13.2.jar:lib/hamcrest-core-1.3.jar org.junit.runner.JUnitCore MarkdownParseTest"
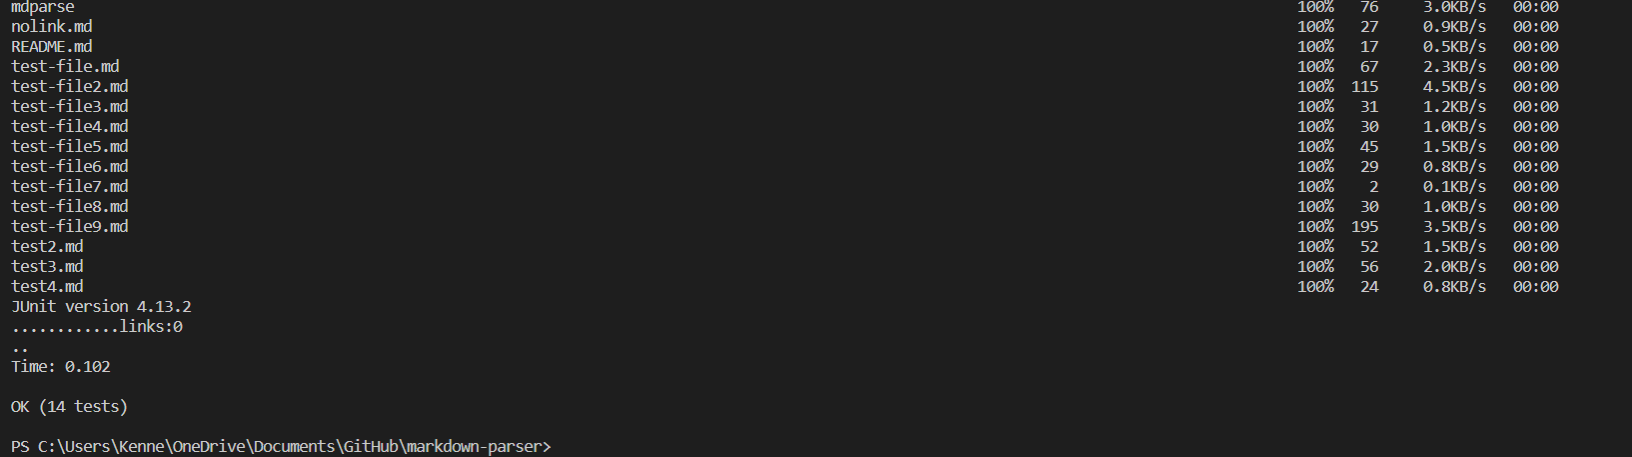
Result
Here are the results when we run this single line:
-
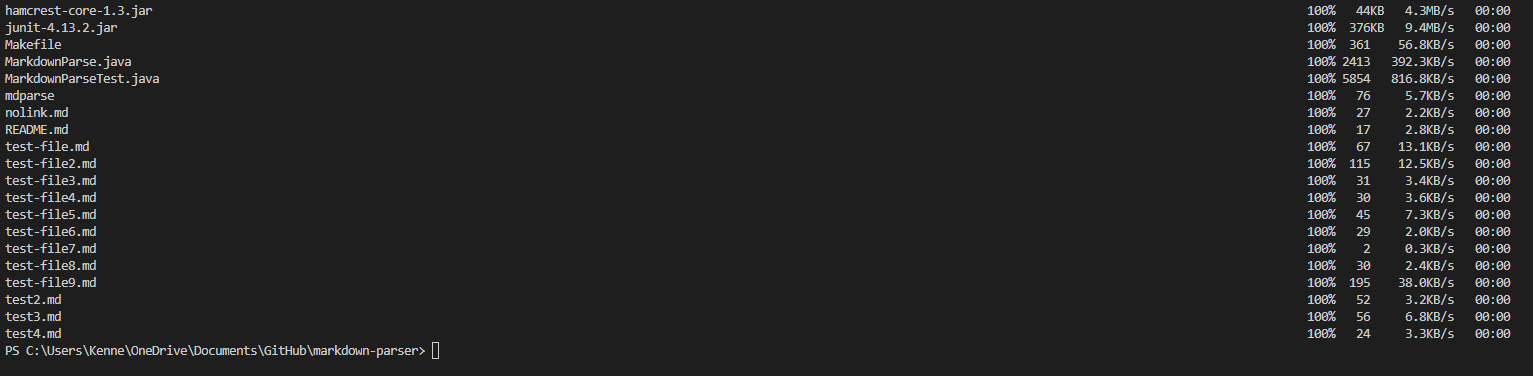
Keep in mind that this is partially all the files copied in the screenshot (it keeps running until it copies everything in the directory)
-
Checking if the copied directory is there: